Every crochet project needs to be finished by weaving in all yarn ends. However, the endpoint remains visible as a little dent in your project. There is a trick to eliminate that dent. You won’t be able to see the endpoint at all! It is called the invisible finish (a.k.a. invisible fasten off or invisible ending).
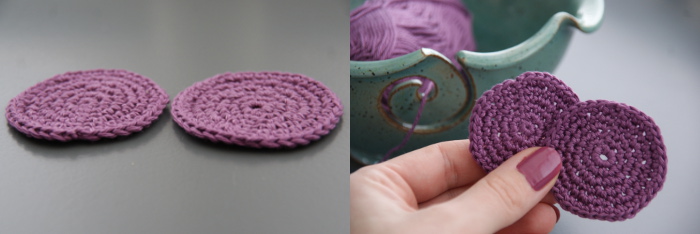
Left circle: when you directly weave in the yarn end, the endpoint remains visible as a dent in the edge of the circle.
Right circle: when you finish the yarn end with the invisible finish trick, you see nothing!
How to make an invisible finish – step by step
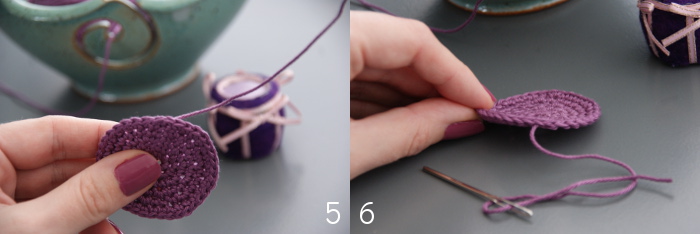
The invisible finish is essentially an extra fake stitch to cover up the end point. Follow the instructions in the fotos to find out exactly how it’s done.
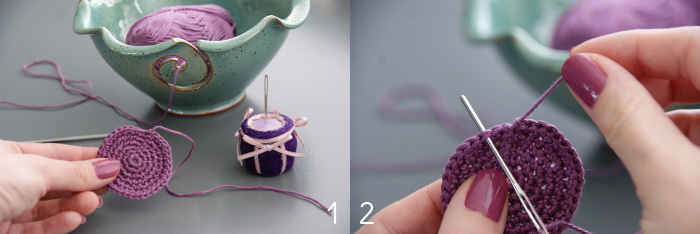
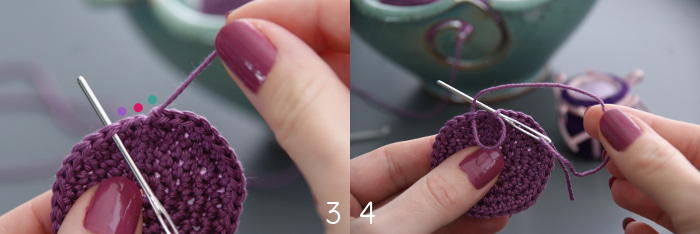
Then insert your needle from front to back through the end point loop. This is exactly where the yarn came from to start with.
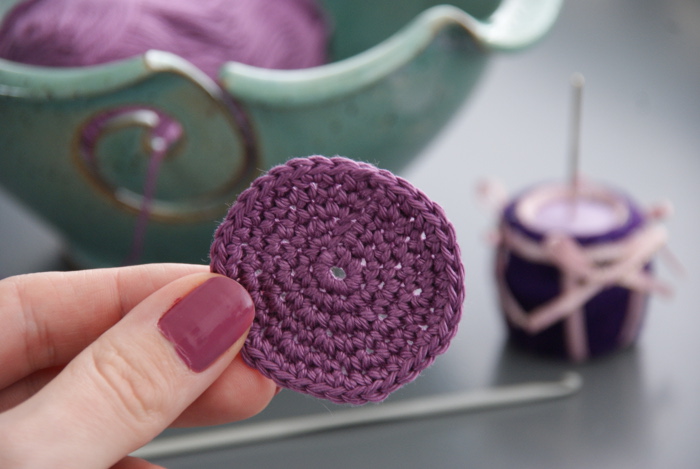
Neat isn’t it? You can use this invisible finish technique for finishing all sorts of projects. This basic crochet circle can be used as an eco friendly face scrubbie. Find the free crochet pattern for this simple scrubbie in the third Home of Yarns crochet lesson. Have fun crocheting!